IMPORTANT!Please only perform this update process if an NCD Technical Support representative has explicitly instructed you to do so. If you have not been directed to perform this update, please do not proceed with this procedure.
Installation Guide for Atrium Gateways
Step 1. Ensure you are using a PC with internet access that is on the same network as the Atrium Gateway (or connected directly to the gateway via an Ethernet cable).
Step 2. Open PowerShell or Command Prompt from your computer’s Start menu.
Step 3. In your terminal, type the following command, replacing `XXXX` with the last four digits of your gateway’s MAC address, and press Enter:
ssh ncdio@ncd-XXXX.local
Example: ssh ncdio@ncd-7f53.local
NoteAlternative: You can also use the local IP address assigned to the gateway. Example: ssh ncdio@192.168.0.1
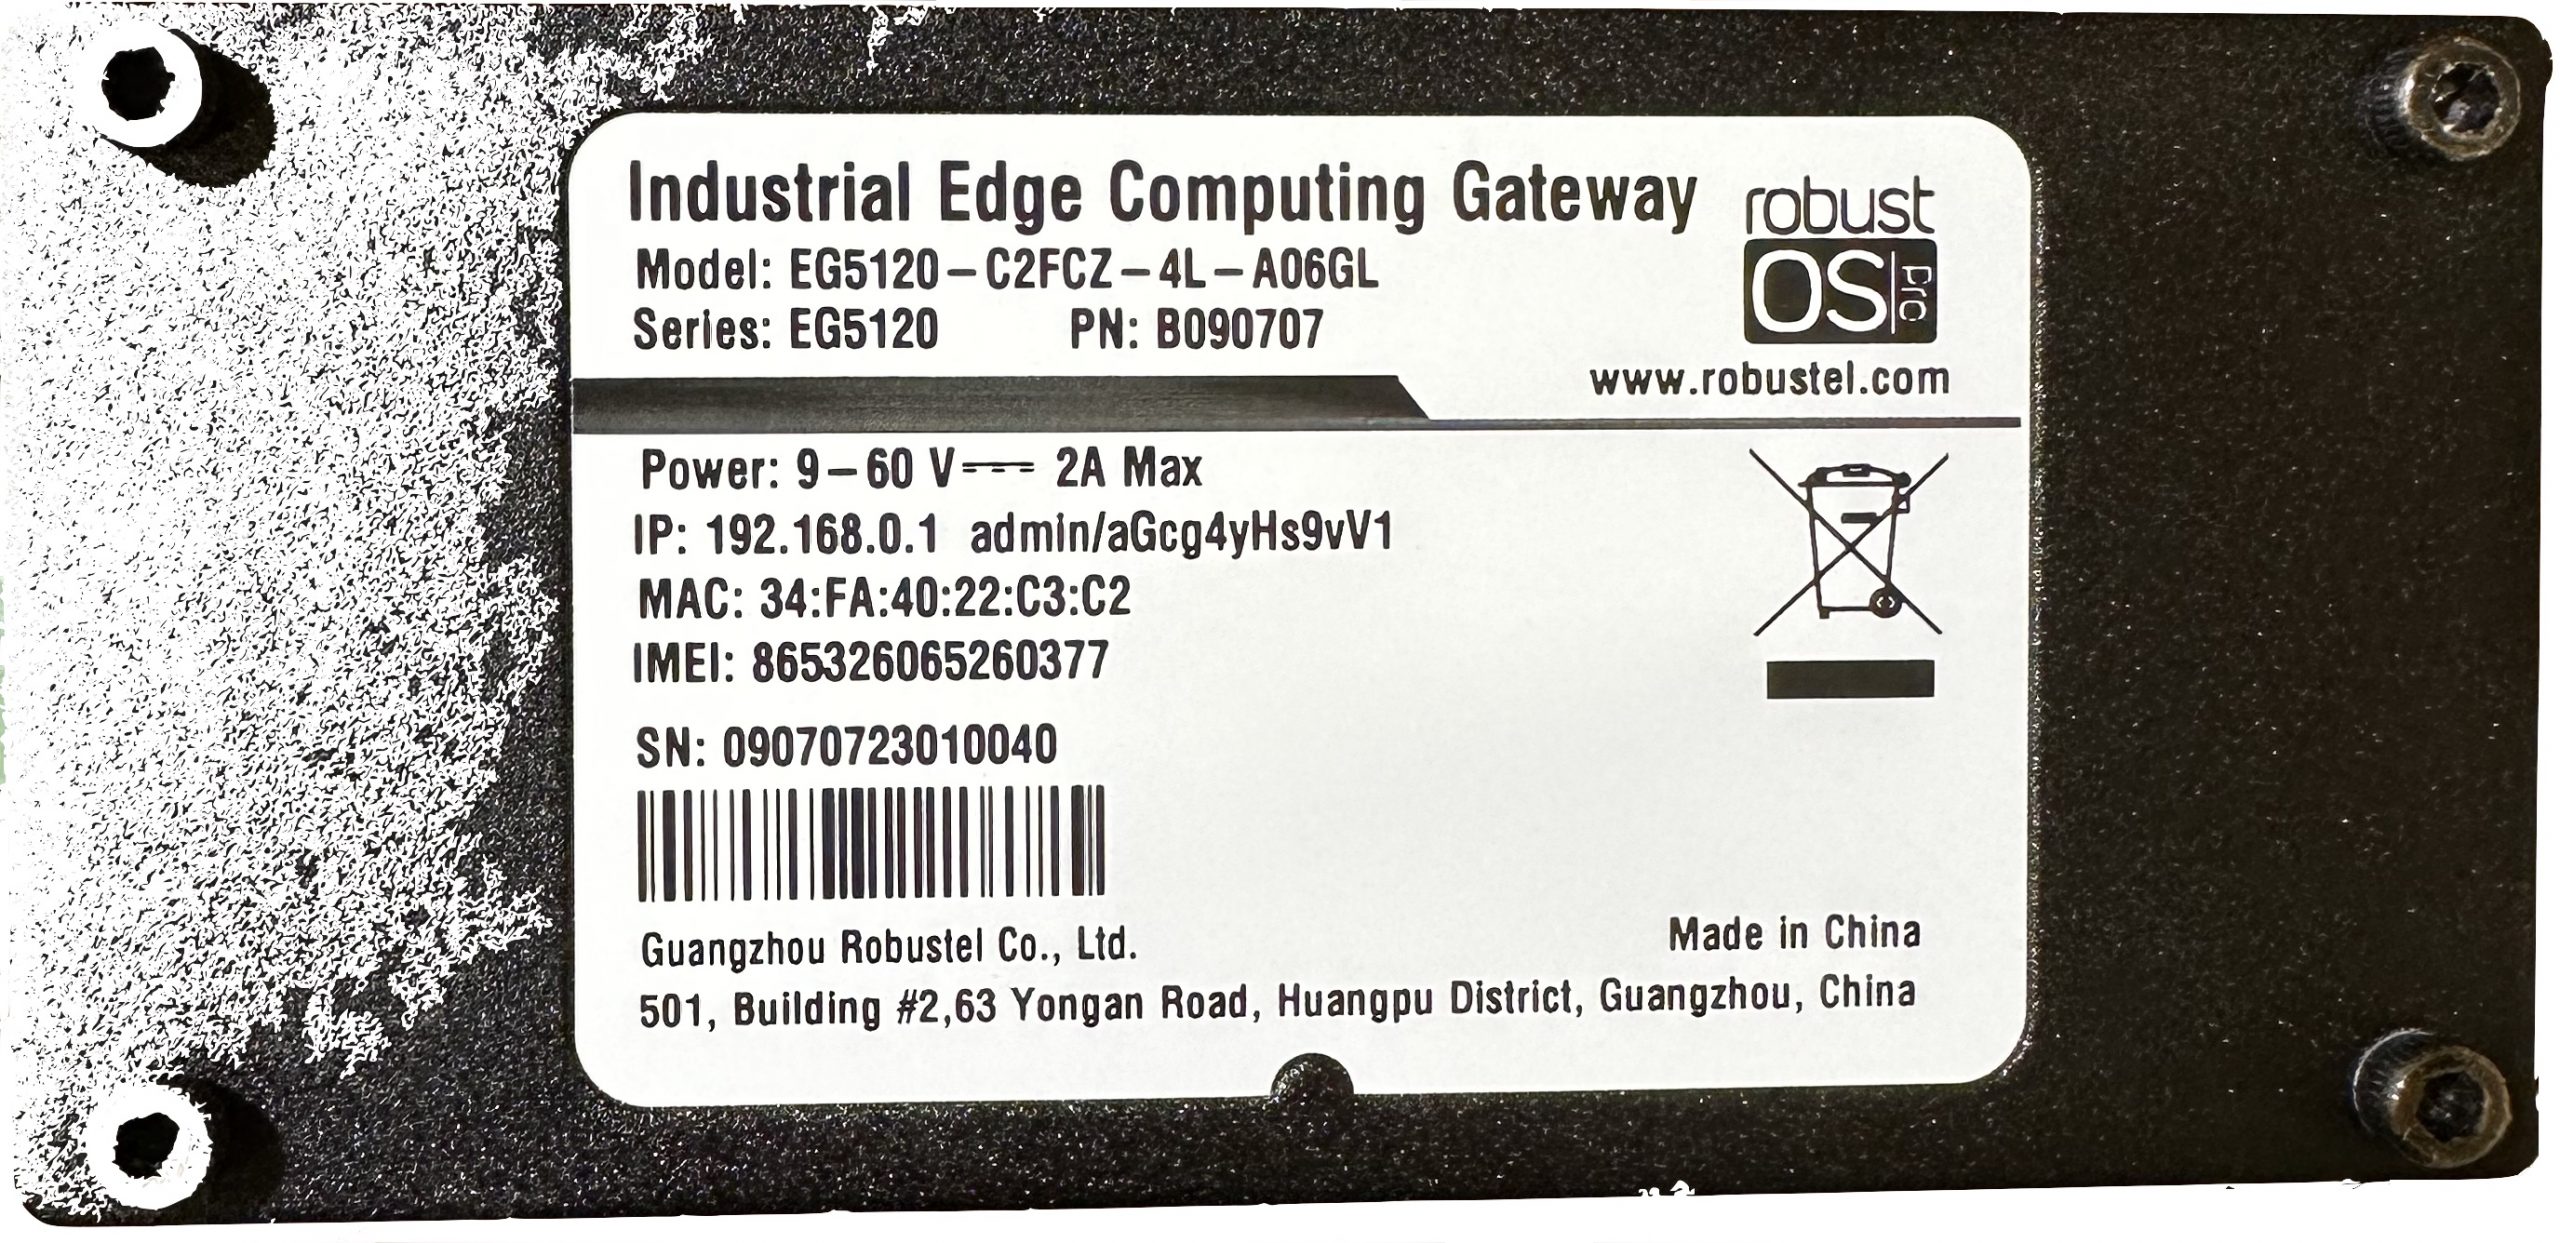
TipYou can find your Gateway’s MAC address on the nameplate sticker located on the bottom of the device.
Step 4. You will be prompted to enter a password. Unless you have previously changed it, type the default password below and press Enter:
ncdB3ast
NoteAs a security feature, your terminal will not show characters as you type the password
Step 5. In the terminal, type the following command and press Enter:
cd .node-red/
Step 6. To install the update from the temp-dev branch, type the following command exactly as shown and press Enter:
Node-RED Access: Access to the Node-RED flow editor.
Network Connectivity: Active internet access for the gateway (required for library installation).
Procedure
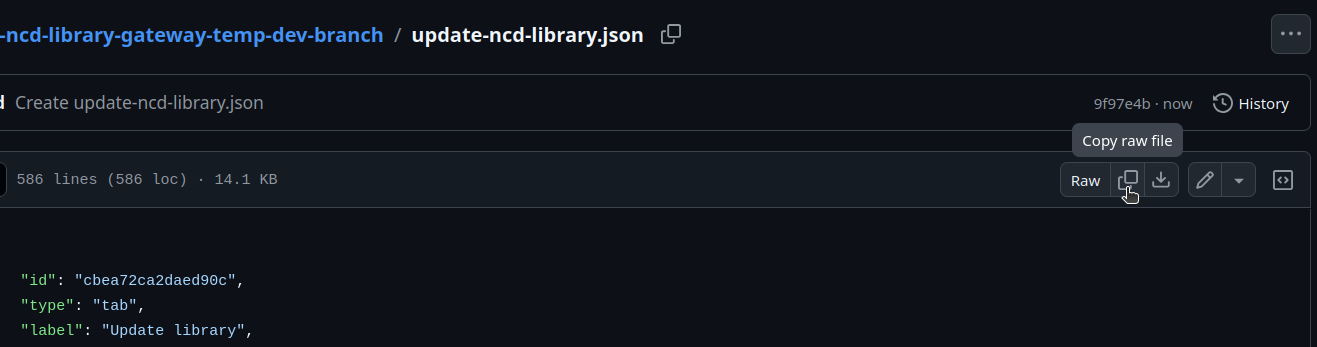
Step 1. Go to ‘update ncd library‘ github repo and click on the copy raw file button:
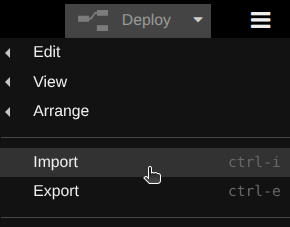
Step 2. Access the Node-RED editor on your NCD Gateway. Navigate to the Menu (the three horizontal lines in the top-right corner) and select the ‘Import’ option:
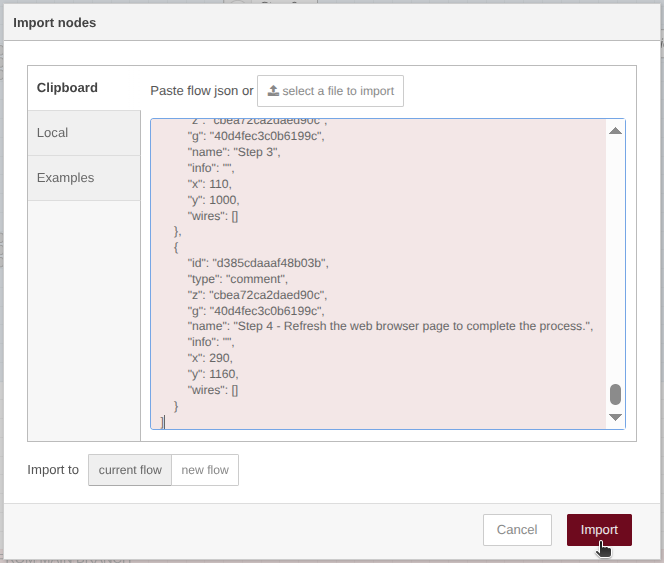
Step 3. Paste the JSON code into the text input field within the Import dialog, then click the ‘Import’ button to proceed:
NoteA pop-up window will appear indicating the nodes successfully imported.
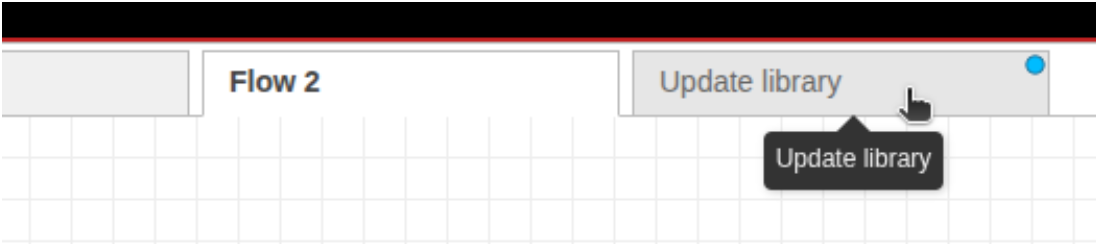
Step 4. Go to the new ‘Update library’ tab on your Node-RED workspace:
Step 5. Click on the ‘Deploy’ button located at the top right side:
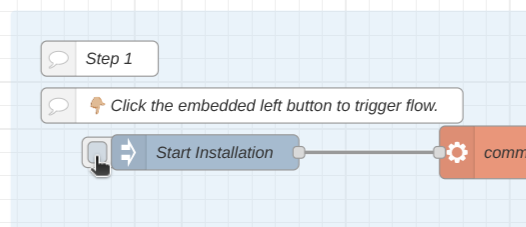
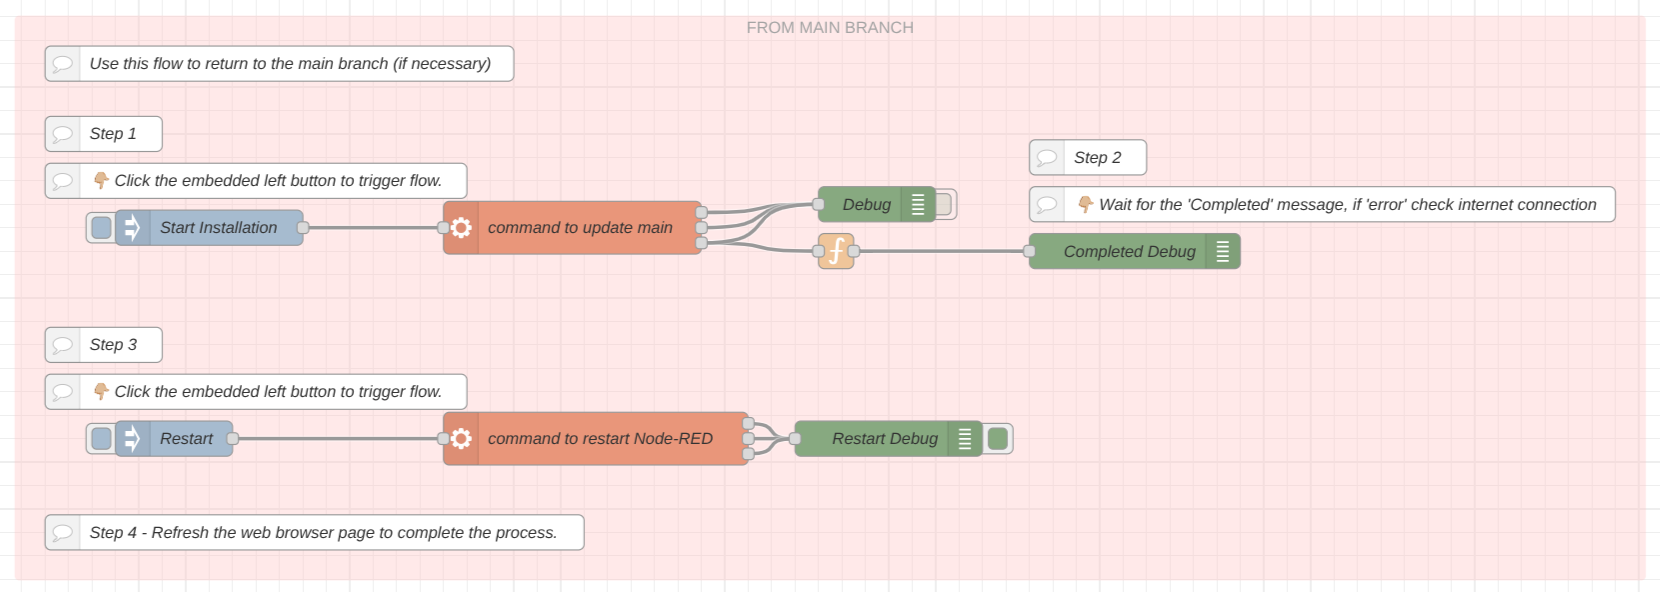
Step 6. Trigger the first flow by clicking the embedded left button, as shown in the following image:
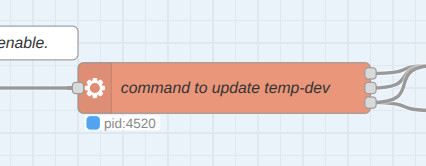
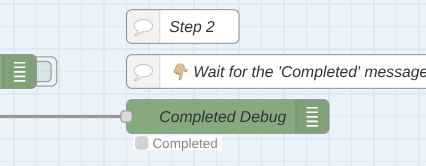
Step 7. A few seconds after enabling the flow, you should see the ‘pid’ process and then the “Completed” message under the debug node, as shown in the following image:
NoteThis process might takes a few minutes
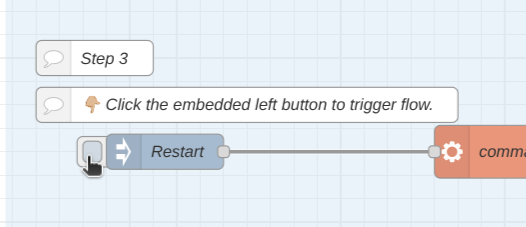
Step 8. Enable the second flow by clicking the embedded left button, as shown in the following image:
This flow enables a command to restart Node-RED on the Gateway.
Step 9. Finally refresh the web browser page. It will take a few minutes to restart Node-RED.
After completing these steps, your NCD Library has been updated from the temp-dev branch.
NoteShould it be necessary, this Node-RED flow also includes a flow that allows you to revert to the main branch by following the same installation steps.
Offline Installation via SCP
IMPORTANTFor Isolated Environments or Restricted Networks
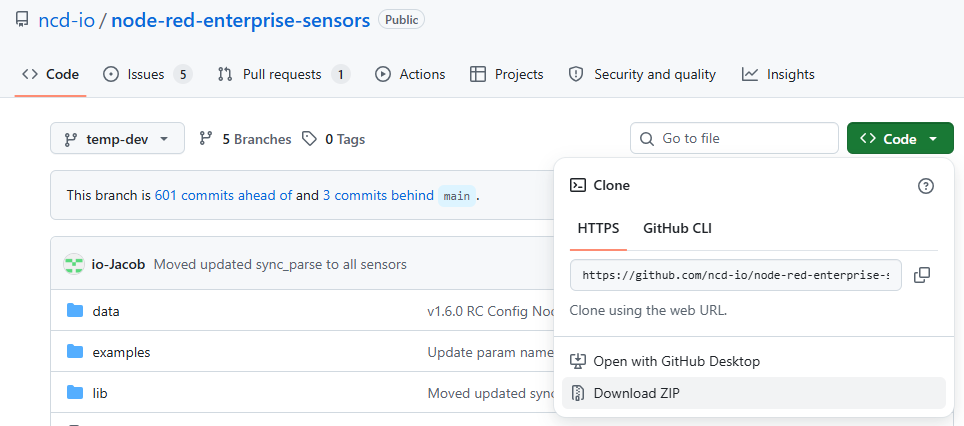
Step 1: Using a PC with internet access that is also on the same network as the NCD Gateway (or connected via Ethernet), navigate to the NCD GitHub Library repository and switch to the temp-dev branch. Click the green ‘Code‘ button and select ‘Download ZIP‘ from the dropdown menu to save the library locally.
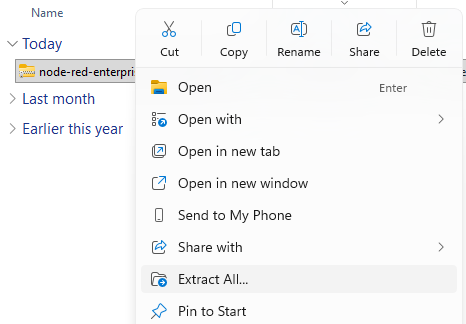
Step 2: Extract the contents of the ZIP file.
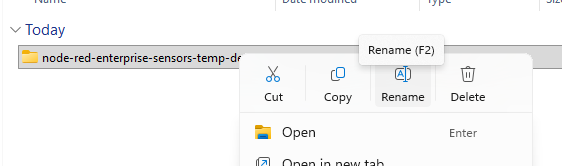
Step 3: Rename the extracted folder to exactly: node-red-enterprise-sensors
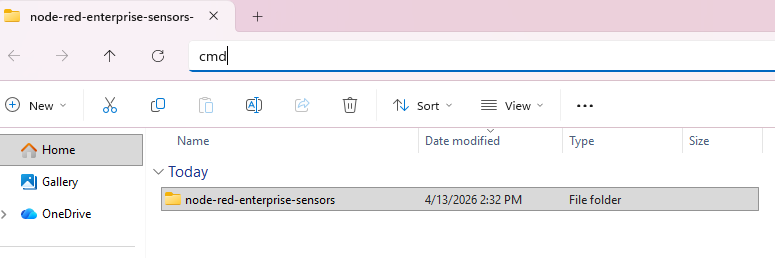
Step 4: Type cmd into the Windows Explorer Address Bar and press Enter to open a Command Prompt window within the current directory.
Step 5: Enter the following command to copy and replace the node-red-enterprise-sensors folder in the Gateway’s Node-RED directory. Replace xxxx with the last four digits of your Gateway’s MAC address (found on the nameplate located on the bottom of the unit):