WiFi Micro Gateway Setup for Microsoft Azure

Setup Instructions

Introduction

The NCD WiFi Micro Gateway allows the complete line of NCD sensors to communicate over the internet to Microsoft Azure using a WiFi connection.  The NCD Micro Gateway is very easy to use, as it only requires network connection credentials and an Azure Connection String.  All sensors are fully encrypted using 128-bit AES encryption.  WiFi communications is also fully encrypted for your security.  To get started using the WiFi Micro Gateway, follow the steps outlined below.


Azure Account Setup

If you do no already have one you will need to create an Azure account.  During this account creation process you will enter payment information and create a subscription.  Note the name of that subscription as you will need it further in this setup.  In this case the subscription is named “Pay as you Go”.  Once the account is created go to: https://portal.azure.com

First we need to create a Resource Group to which we will add resources.  In the left menu on the Azure portal click Resource Groups, then click Add.

The Create a resource group wizard will ask you to fill in some information about this group.  Select the Subscription created when you created your Azure account and give the resource group an appropriate name. Now select the region nearest you from the region drop-down.

Click Review + Create then click Create.

It is possible to add Tags to the resource group but we will not get into that in this documentation.  If you are interested in adding Tags to the resource group please consult Microsoft Azure documentation to learn more.

On the left nav in the Azure portal click Create a resource.

Select Internet of Things from the menu, then click IoT Hub to create a new IoT Hub resource.

In the IoT Hub creation wizard you will be prompted to enter some information.  Select your Subscription, Select the Resource group you created in the previous step, select the Region nearest your location, and finally enter a name for the IoT Hub.

(Note: The name must be  something  no other user is currently using.)

Now click the Review + create button at the bottom, then click the Create button on the pages which follow.

Back on the Azure Portal click All Resources in the left Nav menu, then select on the IoT Hub resource you just created.

On the IoT Hub dashboard click on IoT devices, then click the Add button to create a new IoT device.

Enter a Device ID for the new device (Something you will remember and recognize), Make sure Enable is selected and Auto-generate keys is checked, then click Save.

Under IoT devices in the IoT Hub click the newly created device to view its information.

On the new device’s information page copy the text from the Connection String (primary key) field either by selecting all of it and copying, or by clicking the Copy icon to the right.

On the new device’s information page copy the text from the Connection String (primary key) field either by selecting all of it and copying, or by clicking the Copy icon to the right.

This concludes the setup on Azure, so now it’s time to put this information into the NCD Azure gateway. 

Gateway Setup and Installation

Remove the NCD WiFi Micro Gateway from the packaging and carefully install the antenna.  The antenna screws onto the side of the gateway.  Please DO NOT OVER-TIGHTEN or damage will result.

Plug the WiFi Micro Gateway into any available outlet to power it up using the included power supply.  The Internal LED should be flashing blue.  If the Internal LED is not flashing blue, follow these steps (Otherwise, Skip to Step 3):

a. Open the Gateway enclosure to expose the RED configuration button. Hold button down until the internal LED flashes blue.

b. Press and release the exposed configuration button and secure the top cover the WiFi Micro Gateway.

With the internal LED flashing blue, use a SmartPhone or Laptop Computer to change your WiFi Connection Settings. A new network will appear called “WiFi_Micro_Gateway”. Associate your mobile device with this new WiFi Network.

The WiFi Micro Gateway will request a password, enter: NCDBeast

Once connected, a configuration window will appear, like the image shown here:

If a pop-up window does NOT appear, go to the web browser of your mobile device and navigate to the following URL: 172.217.28.1

Choose a WiFi Network for which the WiFi Micro Gateway is to be associated.

Enter the Password for your WiFi Network.

Enter the Azure Connection String.

Click the “Save Settings” button.

The LED should be solid green once WiFi connection is established and the gateway is connected to Azure.

The LED will slowly flash between a dim white color and red if there was a problem associating the NCD WiFi Micro Gateway to your network. If you were unable to associate the gateway, make sure you have entered the correct WiFi password and Azure connection string.

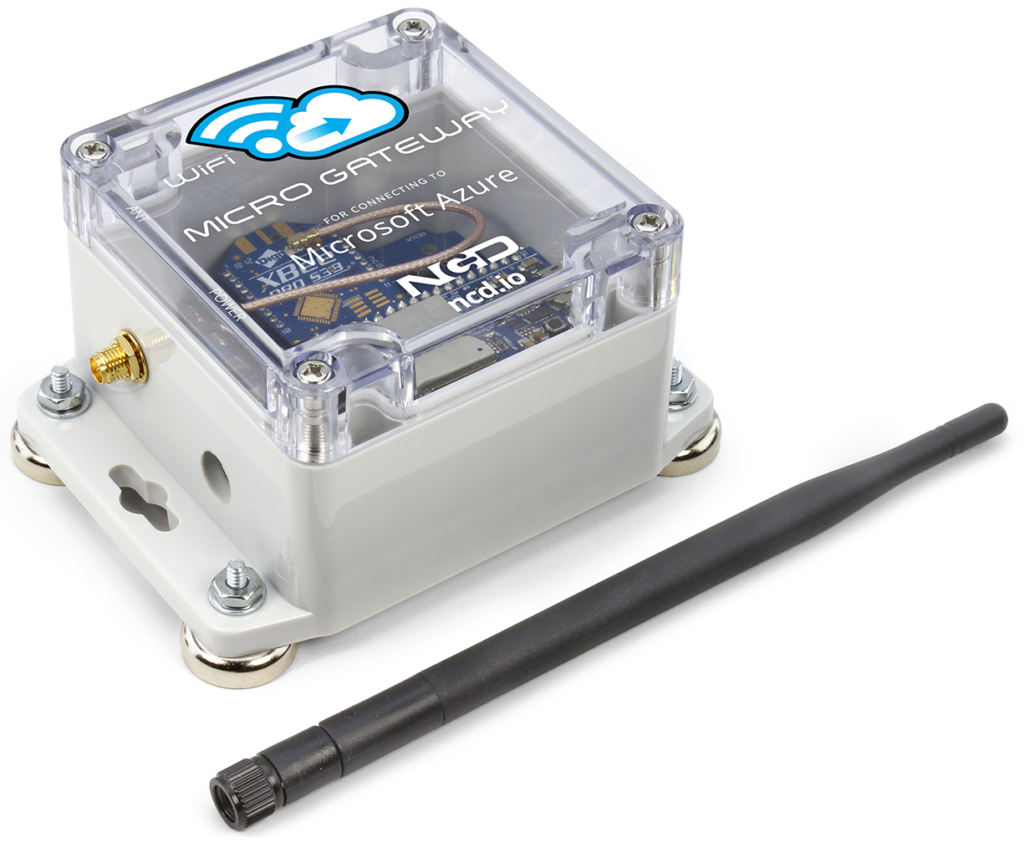
HINT:  For best results, install the NCD WiFi Micro Gateway in a high location, preferably greater than 3 meters from the floor. Make sure the Antenna of the gateway is high enough to avoid shelving or other obstacles when possible. The NCD WiFi Micro Gateway should be installed within 10 meters of your WiFi router, though we have successfully tested up to 20 Meters in open areas.

Sensor Setup and Installation

Now that the Gateway is communicating to Azure, it’s time to power-up your remote sensors. Follow the steps shown below to enable NCD Sensors:

Remove the NCD Sensor from product packaging and carefully install the antenna. The antenna screws onto the side of the sensor. Please DO NOT OVER-TIGHTEN or damage will result.

Remove the top lid of your first sensor.

Move the Power Switch to the ON Position as Shown Here:

Re-Install the lid and secure the screws. For best results, install the sensor in a high location, preferably greater than 3 meters from the floor. Make sure the antenna of the sensor is high enough to avoid shelving or other obstacles.

Initial Testing

If you have the Gateway set up to report information to the Device Twin then testing is very easy.  Just open your browser and go to https://portal.azure.com

Click All Resources, then Click on your IoT Hub resource that was created previously.

Click IoT devices, then click on the IoT Device you created previously.

On the IoT device page click Device Twin

Here information about the device can be viewed.  If your Gateway is powered up and the Green LED is illuminated  you should see its connection state in the Device twin indicating “Connected”.  You can also view information about the Gateway itself under Gateway_Config.

If you currently have sensors powered up and connected to the Gateway then you can also view their information in the device twin under the nodes object.

If you are seeing this information in the Device Twin then rest assured your Gateway is setup and working properly.

NOTES

NOTE:  Sensors transmit in broadcast mode meaning any gateway will receive transmissions from any sensor. For this reason, it is possible for multiple gateways to report data arriving from a single sensor. NCD has made provisions to build wireless groups that do not interfere with one another. Please contact us if you foresee a need for multiple networks within close proximity.

NOTE:  These sensors are secured using the default NCD 128-Bit AES encryption key. This is the same Key used by ALL NCD Wireless Sensors at the time of shipping. Please contact us if you would like a custom Key Assigned to your company. We have also made provisions for customers to change the Encryption Key using additional hardware.

ncd.io