Introduction
In this guide we will explain how to configure sensor settings through the Micro Gateways. This covers The MQTT Gateway, AWS Gateway, Azure Gateway, and all other Micro Gateways.
Enter Setup Mode
Make sure your Gateway is in Setup Mode. This is indicated by a flashing Blue LED on the Gateway. If it is not in setup mode then open the lid, then press and hold the CFG button until the LED begins flashing Blue to enter setup mode.
Connect to the Gateway
On your computer search for WiFi Networks. The Gateway should show up in discovered networks as WiFi Micro Gateway. Click to select it and if prompted for a password enter NCDBeast.
Access the Gateway’s Web Interface
On some operating systems a web interface will be displayed automatically as soon as you establish connection with the Gateway’s WiFi Network. If your computer does not automatically open a web interface open your browser and enter 172.217.28.1 in the URL bar. Note that we only recommend Google Chrome, Firefox, or Safari. There are known compatibility issues with Microsoft Edge and Internet Explorer browsers.
Open Devices Tab
Once connected to the Gateway’s web interface click on the Devices Tab at the top of the window. Here you can see a list of devices the Gateway has seen since boot up. Do not be alarmed if no devices appear.
Force a transmission from your Sensor
To force the sensor to appear in this Devices view press and then release the reset button on your sensor. This will cause it to send a transmission. This will make it appear in the Devices View. An example of a device is shown in the image below.

Enter Configuration Settings
Click the Configure link next to the sensor you wish to configure. A pop up window will appear where you can enter some basic settings. Note that Delay is the interval at which the sensor sends readings. By default it is set to 10 minutes. To force the sensor to report as often as possible change the delay setting to 1 but keep in mind this will drastically reduce the sensor’s battery life. Once settings are entered to your liking click the Save Configuration button(Note settings do not immediately take affect, more steps are required). Below is a screen shot of the configuration pop up window.
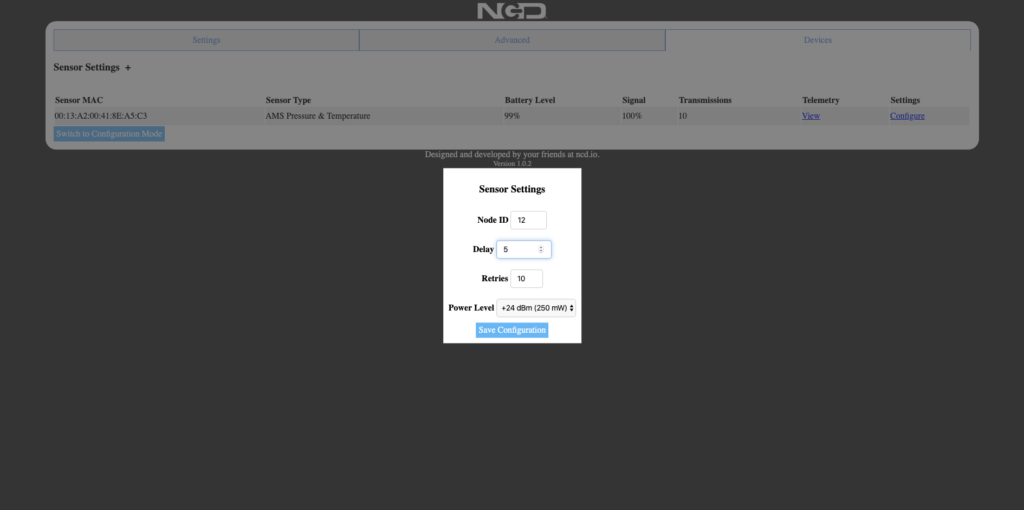
Put the Gateway into Configuration Mode
On the Devices View click the Switch to Configuration Mode button. This puts the Gateway into configuration mode so it can interact with a sensor in configuration mode.
Put the Sensor in Configuration Mode
On the sensor you are configuring press and release the reset button, then immediately press and hold the C or CFB button. Hold the C/CFG button for approximately 8 seconds, then release the C/CFG Button. This will boot the sensor in configuration mode.
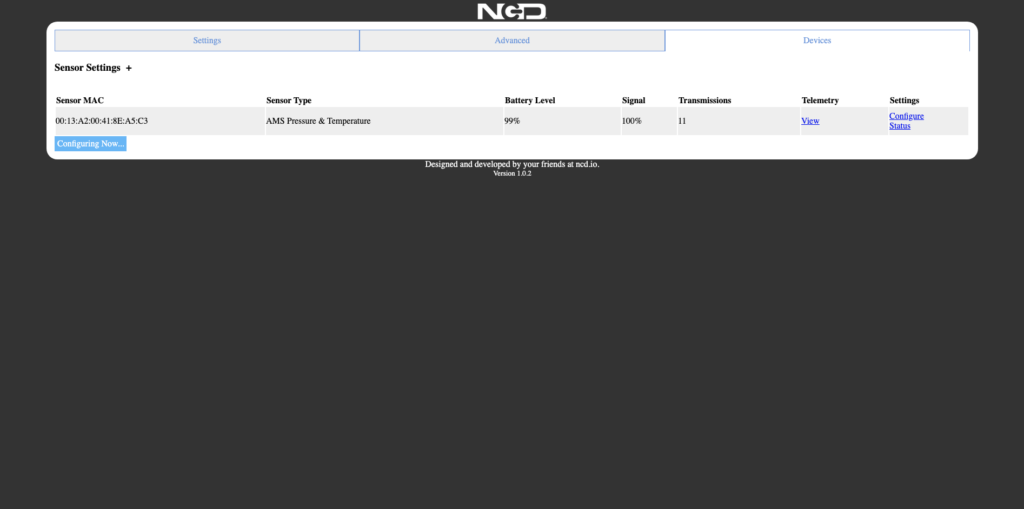
Wait
After the Sensor boots in configuration mode it will send a data packet indicating it is in configuration mode to the Gateway. The Gateway will see that you entered settings for that sensor and it will attempt to store those settings into the Sensor. Once configuration is complete you will see a Status link appear on the Gateway’s Device View Page. Screen shot shows what this Status link will look like.
Check the result
Click the Status Link to see how everything went. To be honest wireless configuration of sensors through the Gateway works for the most part but it is by no means perfect. You will more than likely see errors in the Status but as long as the setting you were trying to change is not listed as an error it is OK to proceed.
Exit Configuration in Gateway
Once configuration is complete click the Configuring Now… Button on the Gateway’s Device Page. This will tell the gateway to exit configuration mode. I also recommend just power cycling the Gateway at this time. Once it boots back up it should re establish connection with the Cloud service and the LED should go solid Green.
Exit Configuration on the Sensor
On the Sensor simply press and release the reset button. This will reboot the sensor into run mode and it will operate as normal.