WiFi Micro Gateway for MQTT
SETUP INSTRUCTIONS
Introduction
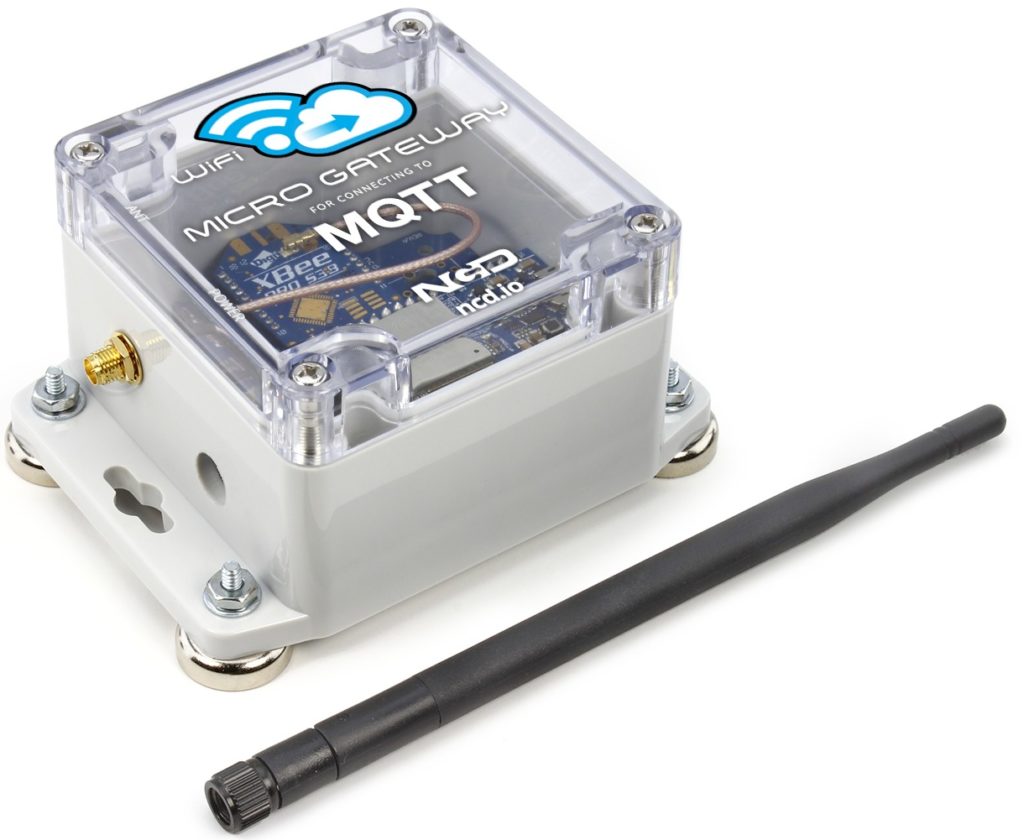
The easy to use NCD WiFi Micro Gateway allows the complete line of NCD sensors to communicate via the internet to any MQTT broker service using a WiFi connection. It only requires network connection credentials, connection information about the MQTT host broker, and authentication information for the MQTT connection if applicable. The MQTT gateway supports connection to MQTT brokers via open connection, basic authentication, as well as TLS. Topics and message payload formats are fully customizable for compatibility with your specific MQTT broker service. All sensors are fully encrypted using 128-bit AES encryption. WiFi communication is also fully encrypted for your security. To get started using the WiFi Micro Gateway, follow the steps outlined below.
NCD WiFi Micro Gateway Setup
Begin by getting the Gateway into Setup Mode and connecting to it.
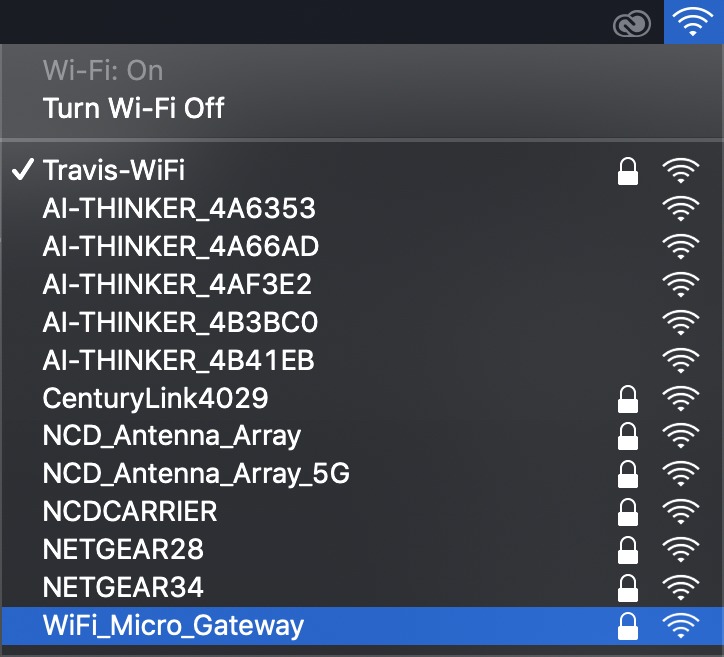
Make sure your Gateway is in setup mode which is indicated by a flashing blue LED. Once it is in setup mode open the WiFi network preferences on your computer and scan for WiFi networks. The Gateway should show up in the WiFi network scan as WiFi Micro Gateway. Select WiFi_Micro_Gateway.
When prompted for a password enter: NCDBeast
Once connected to the Gateway a browser window will appear on your screen. If for some reason this browser window does not appear open your browser and enter the IP address 172.217.28.1 then press enter.
This browser interface tells the Gateway which WiFi network to connect to for internet access, the network’s password, and all connection information for the MQTT broker. Enter this information into the browser interface and click the Save Settings button.
Server Settings
Domain: Enter the URL for your MQTT broker in this Field, Alternatively you may enter the IP address for your MQTT broker in the IP field. This field must be left blank if you intend to use the IP field
IP: Enter the IP address for your MQTT broker if you prefer that to the Domain Field. Leave this field set to 0.0.0.0 if you intend to use Domain instead.
Port: The Port number the MQTT broker listens on for inbound connections.
Use Secure Connection: If your MQTT broker implements TLS then be sure to turn on the Use Secure Connection switch on the Gateway configuration.
Root Certificate: If applicable upload your Root CA Certificate here for TLS connections.
Private Key: If applicable upload your private key for TLS connection here.
Device Cert: If applicable upload your connection specific certificate for TLS connection here.
Root CAs are required for TLS connection so you must upload a Root CA if you require TLS on the connection. Optionally you may also upload a Private Key and Device Certificate. Note that Security on MQTT servers, as we have found, are wildly different in their authentication methods. Some use TLS with a root CA but no private key, Some use TLS with a root CA but also require basic auth credentials, some just require a User name, etc. There really is almost no way to make an off the shelf solution that will work with anything but the Gateway hopes to fulfill the need of 99% of users out there. We cannot however guarantee that it will work with any MQTT broker so be sure to check the authentication procedure for your intended MQTT broker before purchasing this Gateway. Also note that we sell gateways specifically designed for other cloud services such as Azure, AWS, Losant, etc.
Server Settings
Client ID: Optionally enter a client ID to use for the MQTT connection from the Gateway. If no Client ID is entered then the MAC address of the Gateway will be used as the Client ID. Also note that the Client ID may also be used in Topics and messages depending on your customization of those.
User Name: Optionally enter a Username for the MQTT connection. Some MQTT servers use basic authentication for security. Enter that User name here if applicable.
Password: Optionally enter a Password for the MQTT connection.
Message Settings
We have implemented a token replace system for MQTT topics and payloads in order to facility compatibility with numerous cloud based systems which implement MQTT. This means you can embed information about the gateway, the device reporting through it, or the data coming from the device into the topics and message payloads. This is a very powerful feature of the MQTT Gateway.
Gateway Message Format: Token based formatting for the message payload sent when the gateway updates information about itself to the MQTT broker. Supported tokens are ::Gateway_ID:: and ::Gateway_Data::
Gateway Topic Format: Token based formatting for the topic to which gateway information is written to on boot. Supported tokens are ::Gateway_ID::
Sensor Message Format: Token based formatting for the message payload written to the Sensor topic when a wireless transmission is received by a sensor. Supported tokens are ::Sensor_ID:: ::Gateway_ID:: ::Sensor_Type:: ::Node_ID:: ::Sensor_Data::
Sensor Topic Format: Token based formatting for the message topic to which data will be written to when a wireless transmission is received by a sensor. Supported tokens are ::Sensor_ID:: ::Gateway_ID:: ::Node_ID:: ::Sensor_Type::
Token Definitions:
- ::Gateway_ID:: MAC address of the Gateway by default, however if Client ID is set under Client settings it will equal the Client ID entered.
- ::Gateway_Data:: These gateways send information about themselves to the MQTT broker via a message to the Gateway topic on boot. This message contains information such as it’s IP address on the network, it’s S3B wireless address, it’s Mac address, as well as wireless settings information. Use this token to embed that information into the message format that suites your particular application.
- ::Sensor_ID:: This is the unique identifier of the wireless sensor which triggered the MQTT Topic write currently occurring. Embed it into the message topic or message payload to suite your application.
- ::Node_ID:: Wireless sensor devices may be programmed with a Node ID this token allows for embedding this information as needed into the Sensor Topic or Sensor message.
- ::Sensor_Type:: Each type of wireless sensor has a type identifier which is simply a number. embed this token into the sensor message or topic as needed.
- ::Sensor_Data:: This token will embed the data from the sensor as needed into the Sensor Message payload. Note that sensor data is a keyed JSON object.
Sensor Setup and Installation
Now that the Gateway is communicating to AWS, it’s time to power-up your remote sensors. Follow the steps shown below to enable NCD Sensors:
Remove the NCD Sensor from product packaging and carefully install the antenna. The antenna screws onto the side of the sensor. Please DO NOT OVER-TIGHTEN or damage will result.
Remove the top lid of your first sensor.

Re-Install the lid and secure the screws. For best results, install the sensor in a high location, preferably greater than 3 meters from the floor. Make sure the antenna of the sensor is high enough to avoid shelving or other obstacles.
NOTES
NOTE: Sensors transmit in broadcast mode meaning any gateway will receive transmissions from any sensor. For this reason, it is possible for multiple gateways to report data arriving from a single sensor. NCD has made provisions to build wireless groups that do not interfere with one another. Please contact us if you foresee a need for multiple networks within close proximity.
NOTE: These sensors are secured using the default NCD 128-Bit AES encryption key. This is the same Key used by ALL NCD Wireless Sensors at the time of shipping. Please contact us if you would like a custom Key Assigned to your company. We have also made provisions for customers to change the Encryption Key using additional hardware.