ncd Wireless Sensor Getting Started Guide

ncd Wireless Sensor Getting Started Guide

ncd IoT Wireless Sensors Quick Start Guide

In This Guide we will learn how to use any ncd.io wireless sensors. 

Wireless Sensor networks have two main components 

  1. Nodes ( Wireless Sensors which Sendds Data)
  2. Gateway/Modem ( Devices Which Receive Data from Wireless Sensors)

ncd build Gateways as well as Modems. If you are not sure if you need a modem or Gateway checkout this guide IoT Gateways vs IoT Modems – What’s the Difference?.

Modems — If you want to read data using a PC, Embedded Computer or any local machine then Modem will be an Ideal choice. ncd offers USB, RS232, RS485 and Ethernet Modem. Depending on your requirement  you can chooses one of these. 

For example if you want to collect data on a PC then USB modem will be the most ideal choice but if you want to collect data on a PLC or SCADA system then you might look into RS485 or Ethernet modem. 

Gateway — If you are planning to push data to a cloud service or MQTT sever then you can look into ncd gateways. ncd offers Azure, AWS, MQTT gateways. MQTT gateway is most common and widely used in public or private cloud platforms.

If this is your first encounter with Wireless or IoT product then we highly recommend getting a USB modem with sensors. 

Getting Started With Modem

If you have a USB, RS232,RS485 or Ethernet Modem then you can use ncd Alpha Station, Node red, Labview or Python lib to communicate with the Sensors. Here are the few steps you should follow when you are getting started with the software installation

  1. Download Alpha Station — Alpha Station is a windows based utility which can be used to run quick tests on the sensors. Using this utility you can configure the sensors and also view sensor data. This utility can be found here. To learn More About the alpha Station Checkout this guide Alpha Station – Sensor and Control Software for Windows using Visual Studio
  2. Once you have the alpha station installed. Power on the modem and connect it to the PC
  3. The USB modem and Ethernet modems can be used with Alpha station directly
  4. Open the Alpha Station by selecting correct serial port and 115200 as your baudrate
  5. If you dont see the serial port that could mean your computer is blocking the serial port and you will need to contact your IT dept to help you with this.

Once the Alpha Station UI is open now its time to power on the Sensor.

If you get following error during opening the Alpha Station 
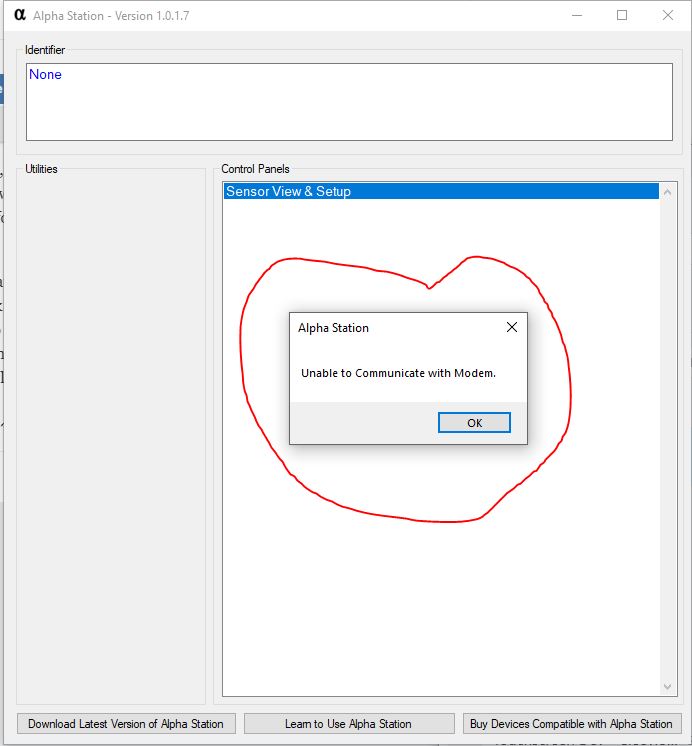
 

Check following

  1. Make Sure Correct Port and Baudrate was slected
  2. Make Sure the Serial port is not open in any other application
  3. Make Sure Correct FTDI drivers are installed
  4. Is the Serial port number visible in Windows Device Manger

Getting Started With Sensor

Currently ncd offers two kinds of wireless sensors. 

A. Indoor sensors ( Black Box)

B. Outdoor IP rated Sensors ( White Box)

Indoor Sensors — If you have an Indoor Sensor then you can power up the Sensor using External Power Supply or Batteries. If you are planning ot use the Sensor with External Power then apply the DC power to power port. Once power is applied press-release the reset button and sensor will start transmitting the data. 

The alpha station will pick up the sensor data and display in the UI.

If you want to use with batteries then you will need to take the sensor lid off and change the power source to batteries. The sensor has a Power supply jumper/switch. 


Outdoor Sensor –Outdoor sensor only come with batteries ( we can external power supply option as well on request). Like indoor sensors it also has the a power supply switch/jumper. This switch can be used to enable the power on the Sensors.


Change Sensor parameter ( Sensor Configuration)

Once you have the run mode working and and want to chnage any parameters then you will need  to put the sensor in configure mode.

  1. In the alpha Station UI click on Setup

       2. Once you click on setup Alpha Station will open the config window.

How to Put Sensor In configure Mode — Sensor has two button.

A. Reset ( Marked as R)

B. CFG ( Marked as C)

In order to put sensor in configure mode press release the reset button and immediately hold the CFG button for 5-6 seconds and then release the cfg button.

Once Sensor is in CFG mode the Alpha Station will get a CFG message from the Sensor and will start to read its setting. 

In the configuration UI following settings can be changed

  1. Node ID and Sleep Interval ( Delay)
  2. Sensor Wireless Power
  3. Sensor Wireless Retries
  4. Sensor Destination Address
  5. other sensor specific Settigns

Note : The min recommended Delay is 3-5 Sec.

Factory Reset

If you change some settings and not sure what all you changed and wants to go back to factory setting then you can factory reset the sensor by following these steps

  1. Press Release Reset Button
  2. Immediately Hold CFG button and release it after 20 sec
  3. Wait for 5 sec
  4. Press release reset button and sensor will be factory rested 

Notes

All Sensor Related info can be found on Sensor Product page under resources Section.