In this article we will be logging sensor readings to a Google sheet using an AWS IoT gateway. It’s interesting to see integration between two Tech giants like these so it should be fun to implement. This article may be slightly on the advanced side due to account setup and requiring both an AWS account as well as a Google Developer account, however the code writing is minimal and it will be provided in this article.
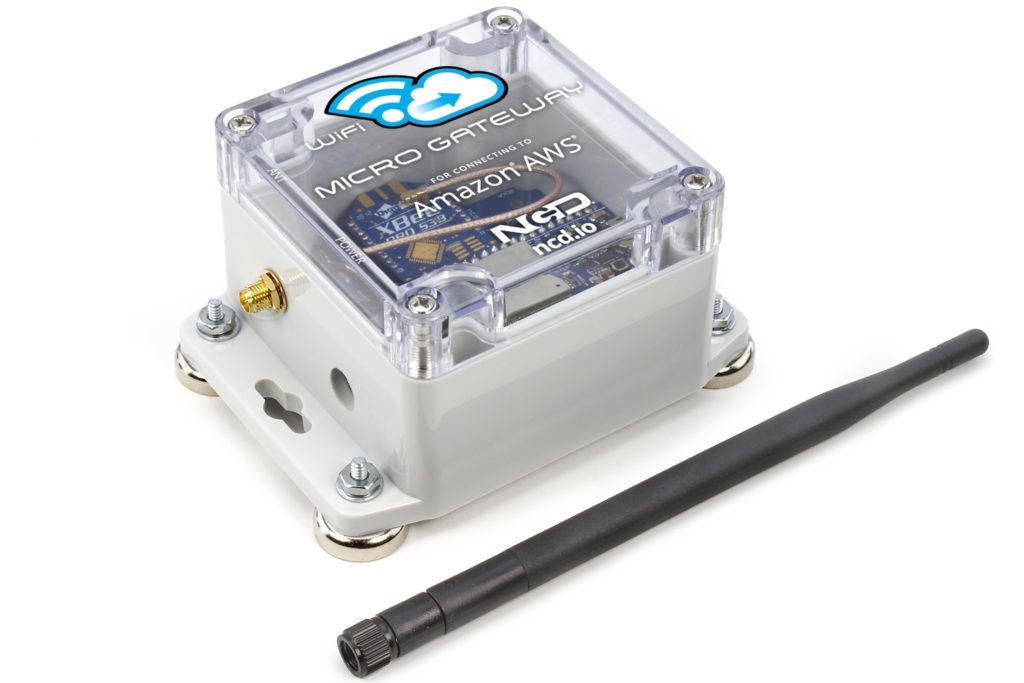
First it will be important to ensure your AWS IoT Gateway is running version 1.0.2 or higher. To check this put your gateway into setup mode by pressing and holding the CFG button until the LED flashes blue. Connect to it through WiFi, then open its web interface by entering 172.217.28.1 into your web browser. Look at the version code at the bottom of the page, if it is not 1.0.2 or higher click Advanced, then danger zone, and check for a firmware update there.
The directive of this article is not to assist in setting up your AWS Gateway, that has already been covered in the WiFi Micro Gateway Setup for Amazon AWS, so if you have not already done that please do so before proceeding through this article. The remainder of the article assumes you have your AWS Gateway connected to AWS IoT, have at least one sensor reporting through it, and your AWS account is in good health.
Google Developer Project Setup
Create a Google Developer Project
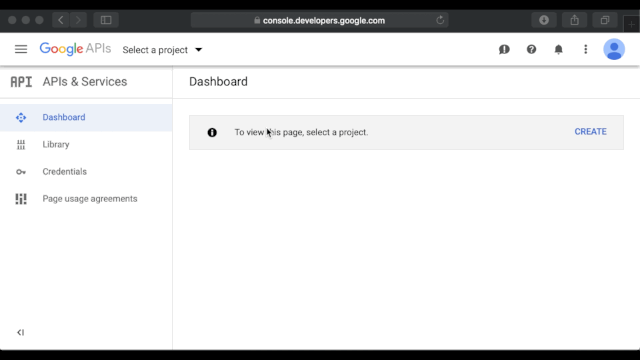
You’ll need to create a new Project. At the time this article was developed this can be found by clicking to the right of Google APIs in the top bar, but that may change in the future.
Give the project a name. For the sake of simplicity I’ll call mine “Temperature-Logger”.
After you have entered the required information click Create.
Enable the Google Drive API on the Project
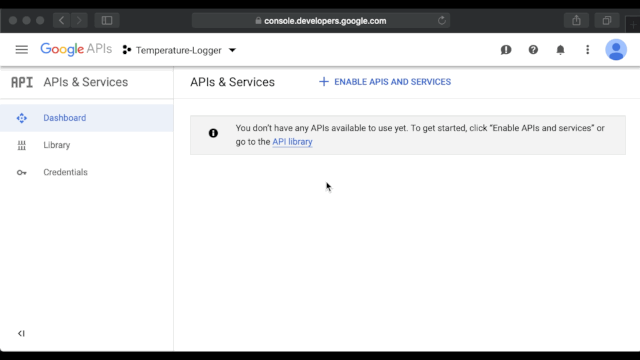
After the project is created make sure that it is the currently selected project on the console (the selected project should be shown near the top of the page).
Click on Enable APIsand Services at the top of the page. This will take you to the search page for Google APIs. We want to select Google Drive API under the category G Suite. Click Enable on Google Drive API to add it to this project.
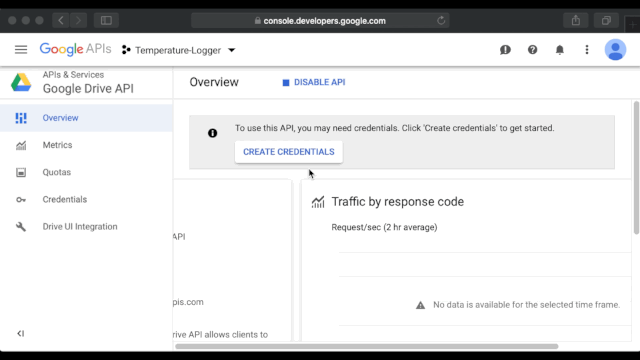
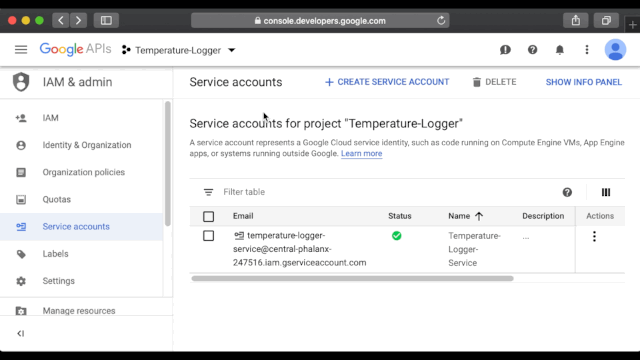
Create Service Account Credentials for Project
Now we have created a Project and attached Google Drive API to it. Next we need to create credentials for this project so we can give that to Lambda and enable it to edit the google sheet. Click Create Credentials. Here we can skip this step by clicking service account. On the next page click Create Service Account, enter a name for the account, then click Create.
Under Select a Role click Project, then select Editor, then click Continue. Now click Create Key, select JSON, then click Create. This will download a JSON key which will act as credentials for AWS to use to access our Google Drive.
Click Done.
Create Key for Service Account Credentials
Lastly we need to download a JSON format of these credentials which AWS will use to access a google sheet (through google drive API) on our google account.
We start by selecting the Credential we just created.
Click Edit on the Credential overview page.
Find the Email field and copy that Email address down, we will need it in the next step.
Click Create Key.
Make sure JSON is selected and click Create.
The JSON CredentialDow file will be automatically downloaded. You will need this file later.
Recap
We started by creating a Google Developer project.
We granted this Google Developer Project access to our Google Drive account by adding Google Drive API to the project. Google Drive API allows access to our Google Sheets account.
We then created a Credential for the Google Developer project as a service account, created a Key for that service account, and finally downloaded the key as a JSON file.
It’s a lot to take in for sure but if you break it down it does make sense!
Google Sheet Creation
Sheet Creation
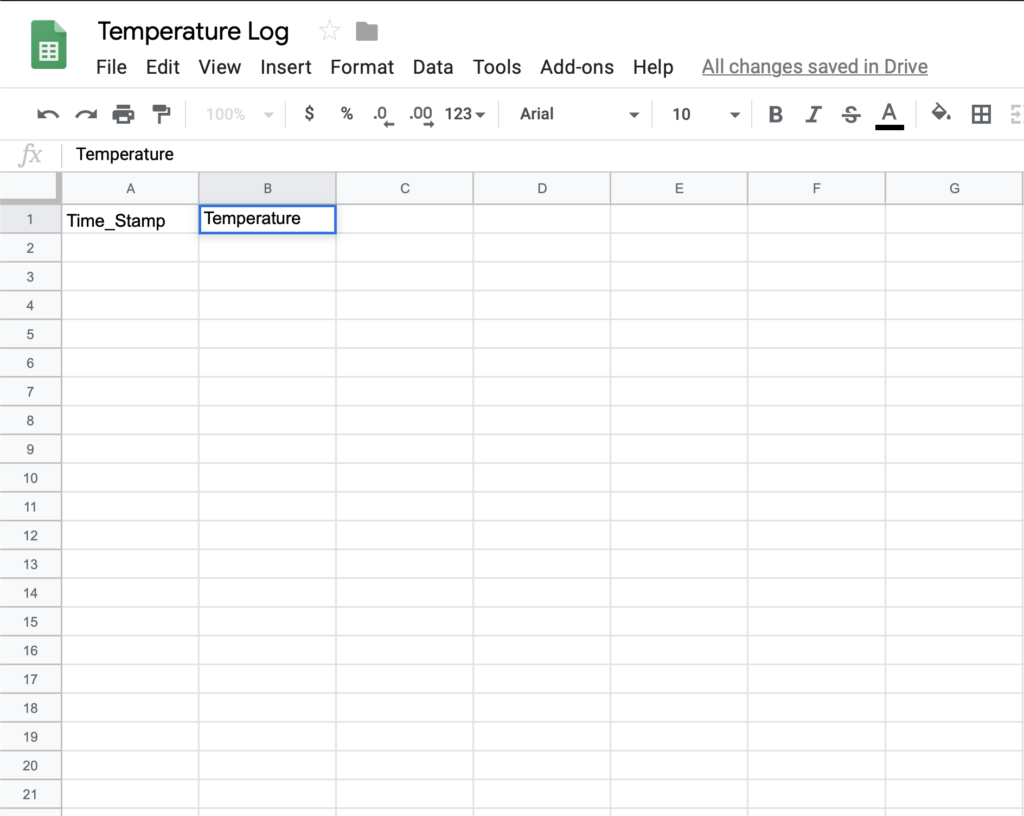
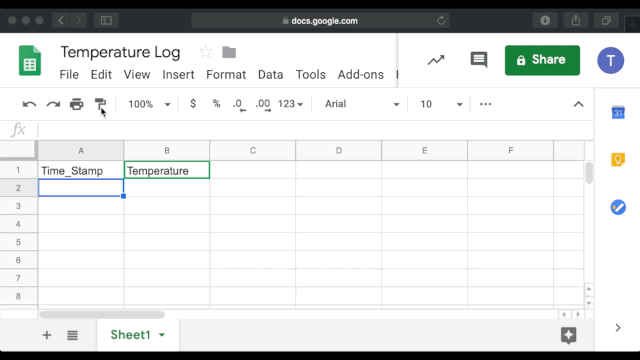
The next step is very simple. Create a google sheet where we can log our readings. Head over to sheets.google.com and create a new sheet and give it a name you can remember (I’ll name mine “Temperature Log”).
At the top of the columns we want to add titles for the columns. This allows us to specify columns to add information later on. For my application I just need a Time Stamp and a Temperature, so I have mine labeled as such.
Sharing access to the sheet
Even though our Google Project has access to our Google sheets through Google Drive API we still need to share access to this sheet.
Click File->Publish to the Web, then click Publish and acknowledge warning.
Now click Share, enter the email address we copied from the Google Service Account previously, then click done, and acknowledge any warnings.
We now have the sheet and have granted access to it from our Google Project.
Note: I actually got through the entire setup only to get a 403 forbidden error at the end when Lambda tried to publish to Google Sheets. As it turns out I shared the google sheet with the wrong email account. If you have this issue at the end check the credential JSON file downloaded from Google and make sure you share the sheet with the email address listed in there.
This code is Node.js. You will need Node.js installed on your computer so if it is not already head over to https://nodejs.org and download/install the latest stable release. This should install node and npm, both of which will be required.
Modify for your project
Open index.js and enter the Sheet ID for the Google Sheet you wish to log to. This can be found in the sheet’s URL. The URL will be something like this: https://docs.google.com/spreadsheets/d/KEY_HERE/edit#gid=0 The Key should be right in the middle where I depicted Key_Here above. Copy that key and post it on line 5 of index.js where it says Enter your sheet key here.
If your Google Sheet does not have column headers Time_Stamp and Temperature then modify line 12 of index.js as well to fit your needs.
Add your Google Service Account Credential JSON file
You should have downloaded a JSON credential file for the Google Service account linked to the Google Project. Change the name of that JSON file to client_secret.json and put it in the AWS_Logger_Google_Sheets directory.
NPM install the required modules
From your terminal navigate to the AWS_Logger_Google_Sheets directory and run command npm i. This should download all required node modules for this project in to the node modules directory which will be created.
Zip it up
Now from your file explorer navigate to the AWS_Logger_Google_Sheets directory. Select all files and directory there and zip them. Do not zip the AWS_Logger_Google_Sheets directory, zip all the files inside of it. This will create a zip file inside AWS_Logger_Google. We will upload this zip file to AWS Lambda.
Create the Lambda Function
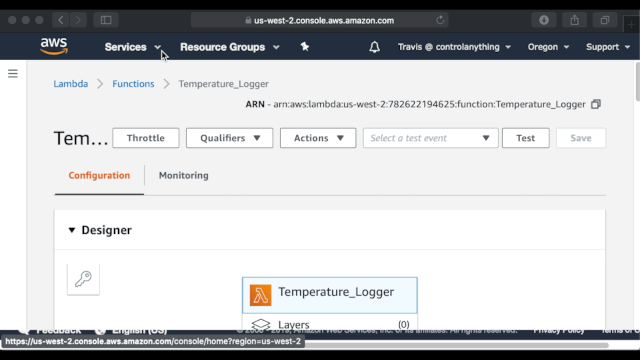
Head over to your AWS Console and open the Lambda dashboard.
Click Create Function.
Enter a name for the function.
Make sure Node.js is selected for Runtime.
Then click Create Function.
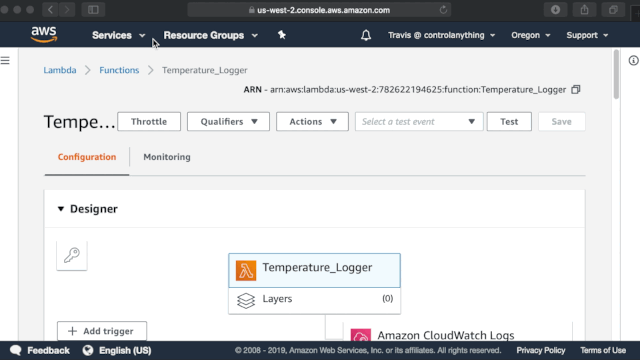
For Code Entry type select upload a Zip file.
Click Upload and select the Zip folder created earlier.
Click Save.
Setup AWS IoT Core Rule
Determine the "Thing Shadow" Info Log
The first thing we need to do is get the shadow address for the data we want to log to the google sheet.
Under AWS Services search for IoT Core and open the AWS IoT Core Dashboard.
Click Manage on the left.
Select Things.
Select your AWS Gateway from the list of Things there. Make a Note of its thing name as you will need that in the next step. Mine is “CC50E3896F38“.
Once you have the dashboard for your AWS Gateway Thing open click on Shadow.
Here you can see the Shadow Document which should be populated with information of the Gateway as well as sensor device telemetry under the nodes object. We need to know the SN ID for the sensor we are logging and the key for the sensor reading we want to log. Get that information, then move on to the next step.
Create the IoT Core Rule and write the SQL Query
Now that we know where the sensor data is that we want to log we can setup the AWS IoT Rule.
Head back to the main AWS IoT Core Dashboard.
Click on Act.
Click Create.
Enter a name for the Rule and a description (optional).
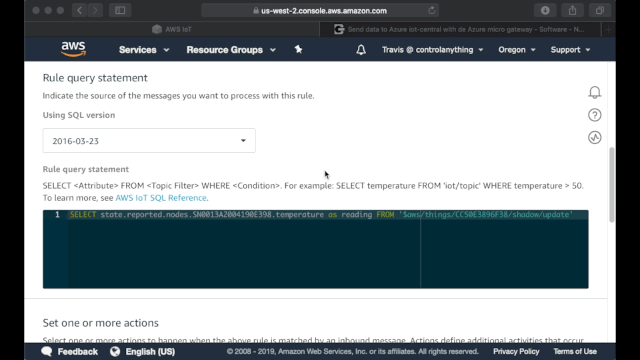
First we need to write an SQL query to get the information we need from the thing shadow and output it in a way Lambda can understand.
I am using the temperature key from SN0013A2004190E398. Our AWS Lambda function is expecting a JSON object with a reading key (event.reading). So this is what my SQL query would look like:
“SELECT state.reported.nodes.SN0013A2004190E398.temperature” as reading FROM ‘$aws/things/CC50E3896F38/shadow/update’ WHERE NOT isUndefined(state.reported.nodes.SN0013A2004190E398)“
A Brief explanation of how it works
When our AWS Gateway receives a wireless transmission from the temperature sensor (SN0013A2004190E398) it will publish a message via MQTT to topic “$aws/things/CC50E389F38/shadow/update“. Within this message will be a JSON object structured similarly to this: “state.reported.nodes.SN0013A2004190E398.temperature“. We are selecting temperature from that topic, setting it’s key to reading and passing {reading:24.08} to our Lambda function. Using the WHERE statement we are making sure that this shadow update actually pertains to the “SN0013A2004190E398” device which is the temperature sensor.
Setup the Action
The SQL query we wrote in the last step is the trigger for this rule. Now we will trigger our Lambda function as an action.
Scroll down and click Add Action.
Select Send a message to a Lambda function.
Now under Function name select the Lambda function we created previously (Temperature_Logger in my case).
Click Add action.
You will be taken back to the rule’s main config page.
Scroll down and click Create rule.
Conclusion
Finally open up the Google Sheet you are set to log to and force the sensor to send data (You can do this by pressing the reset button on the sensor). You should see a new row appear with a time stamp and the current reading of the sensor.
If you’ve made it this far pat yourself on the back. This was far from simple and you may still be scratching your head about how some of this works. I highly recommend researching these topics to get a better understanding of how everything works. It personally took me some time to get everything together perfectly for this. If you have questions please reach out to us on the forum and let us know. We’ll be happy to help.