Arduino Nano is one of the most used Arduino devices. It’s small form factor comes with a USB, UART, I2C and SPI interface. In this Quick Start Guide, we will show you how you can use Arduino Nano directly with NCD products.
There are two ways to connect Arduino with NCD product line.
1. Using Arduino Nano I2C shield
You can find the Arduino shield here.
I2C Shield for Arduino NanoThis I2C shield lets you plug in your Arduino, providing a I2C out port. Using the I2C out port, you can connect hundreds NCD devices in seconds. This adapter board also has on board I2C pull-ups, so you don’t have to worry about any extra wiring or soldering. Just Plug and Play!

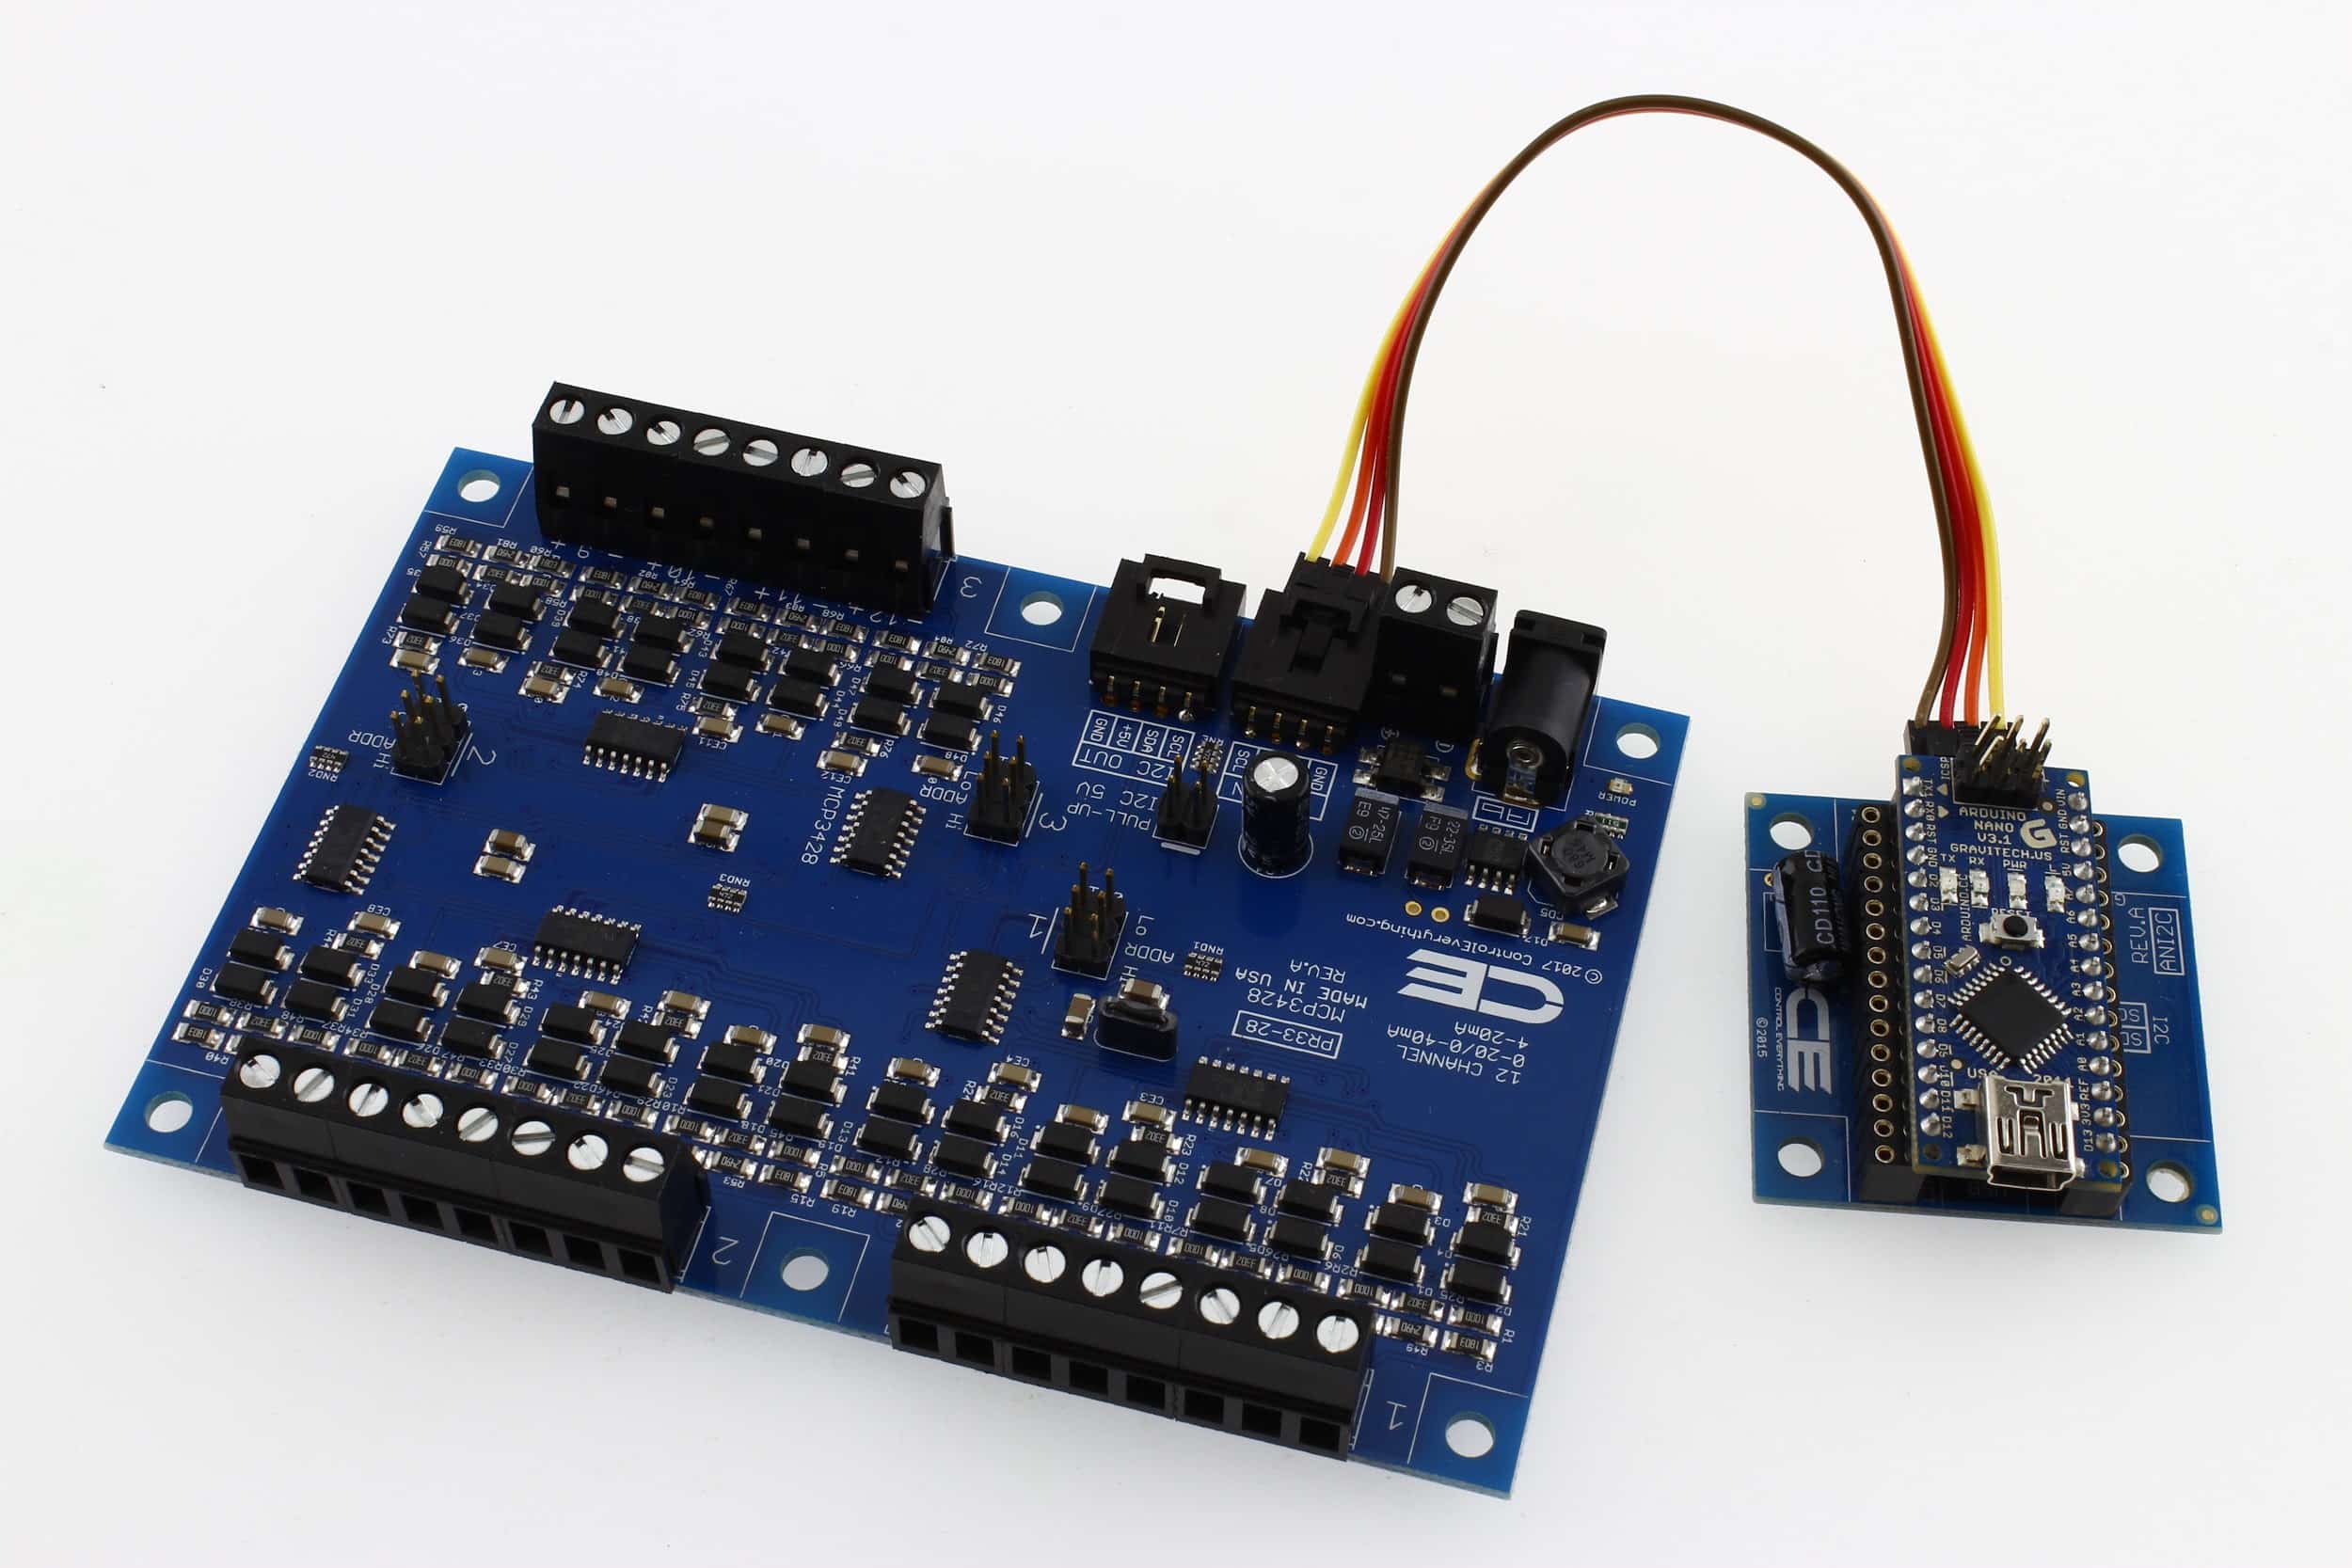
Let’s say you have a temperature sensor from NCD and want to test with Arduino nano and make sure your entire hardware setup is working. To test the entire setup please follow these steps
- Plug your Arduino into the shield and power it up using the usb port
- Plug the I2C cable into the I2C out port and plug the other end of the cable into the I2C in port of the sensor board.
That’s all you need to do and your entire setup is ready. Now you will see a power led glowing on the sensor board as well, it indicates that your sensor board has power and ready to go.
On the software side please follow these steps.
- Open the Arduino IDE and select the Arduino Nano as the board and also select the correct interface port.
- Every I2C device comes with a pre defined I2C address and most of them support the general call. So using the general call feature you can find out the I2C address of the sensors.
- To detect the sensor please use this I2C scanner code.
#include <Wire.h>

void setup() {
 Serial.begin (9600);
 Serial.println ();

  Serial.println ("I2C scanner. Scanning ...");
  byte count = 0;

  Wire.begin();
  for (byte i = 1; i < 120; i++)
  {
    Wire.beginTransmission (i);
    if (Wire.endTransmission () == 0)
      {
      Serial.print ("Found address: ");
      Serial.print (i, DEC);
      Serial.print (" (0x");
      Serial.print (i, HEX);
      Serial.println (")");
      count++;
      delay (1);
      }
  }
  Serial.print ("There is/are ");
  Serial.print (count, DEC);
  Serial.println (" device(s).");
}

void loop() {
}
After uploading this code, open the serial monitor. When you will open the the serial monitor you will display an I2C device address there.

Now you have everything setup and everything works perfectly. We can move on the reading the sensor outputs. NCD has huge collection of lib and most of the NCD devices are supported through these lib. To locate the lib please visit this section.
http://github.com/ControlEverythingCommunity
Here in the search box you can type your sensor part number and can get the lib.
2. Using Arduino Nano AN adapter with NCD PE series devices
NCD tries to make sure all devices work together and user should be able to use one device with many platforms. This is a Arduino Nano adapter which will plug into all NCD IoT devices originally designed for Particle Electron. Re-use your existing Particle Electron devices with the Arduino Nano using this adapter.

You can find this adapter here:
Arduino Nano IoT Interface AdapterSo let’s say you want to relay board which works directly with Arduino Nano without any wiring then all you will need is
- AN adapter
- NCD PE Series Relay BoardNote: The AN adapter works with ANY NCD IoT Device (Originally Designed for Particle Electron)

NCD offers over 300 devices which work with Particle Electron and you can use all of them with Arduino Nano using this adapter.
Few examples how to connect NCD devices together:
- Interfacing a relay board with Arduino Nano
- Using Arduino Nano I2C shield and a I2C relay board
In this case you will need this shield:
I2C Shield for Arduino NanoI2C Relay board:
Now all you need is connect the I2C cable between the I2C adapter and the relay board using the I2C Input port on the relay board. Power up the relay board and go the ControlEverything git lib page, copy the code and you will have a working Arduino relay board in couple of minutes.
- Using AN adapter with PE relay board
In this case you will need this adapter
https://store.ncd.io/?fwp_product_type=adapters&fwp_platform=arduino-nano
And this PE relay board

Now all you will need to do is plug the AN adapter into the PE relay board, plug the Nano into the AN adapter, power up the relay board and you will have a working relay board in less than a minute!
In the same way you can build an Arduino Nano AC current monitor board, DC current monitoring device, AC voltage monitoring device, solenoid controller, FET controller, PWM controller, pump controller, 4-20mA current loop receiver, 4-20mA current loop transmitter, 4-20mA current receiver and much more.
- Interfacing sensors
NCD manufactures over 350 sensor products and every single of them can be interfaced with Arduino Nano just by plugging a single cable. So to interface any CE sensor with Arduino Nano you will need
Arduino Nano I2C shield
I2C Shield for Arduino NanoAnd any NCD sensor

Plug any sensor into the Nano shield and use a I2C cable to connect the sensor to the shield.
Now it’s so easy to build any Arduino based sensor solution. For example, building a weather station using Arduino Nano only requires a temp humidity sensor, a pressure sensor and the ANI2C shield.

Now you can have any kind of sensor like temp humidity sensor, pressure, light, color, gas, gesture, hall effect, ADC, DAC, and many more with Arduino just in a click.
Interfacing Arduino with Industrial IO Solution
NCD also manufactures over 50 industrial IO boards like isolated digital IO, 4-20mA current loop receiver, 4-20mA current receiver, 4-20mA current loop transmitter, 0-10V ADC, 0-20V ADC, 0-24V ADC, 0-10V DAC, Thermocouples and many more. All these solutions comes with an I2C port so it is very easy to interface with any Arduino microcontroller.