Arduino Micro is the another Arduino board which is directly supported by NCD. Most of the NCD devices works directly with it. NCD supports over 40+ relay shields, PWM drivers, sensors, current monitoring, voltage monitoring and much more. All of these devices are plug and play so you can use these board with Arduino micro just plugging one cable.
Mainly NCD provides 2 shields which will let you connect your Arduino with all the NCD devices.
- Using Arduino Micro I2C Shield
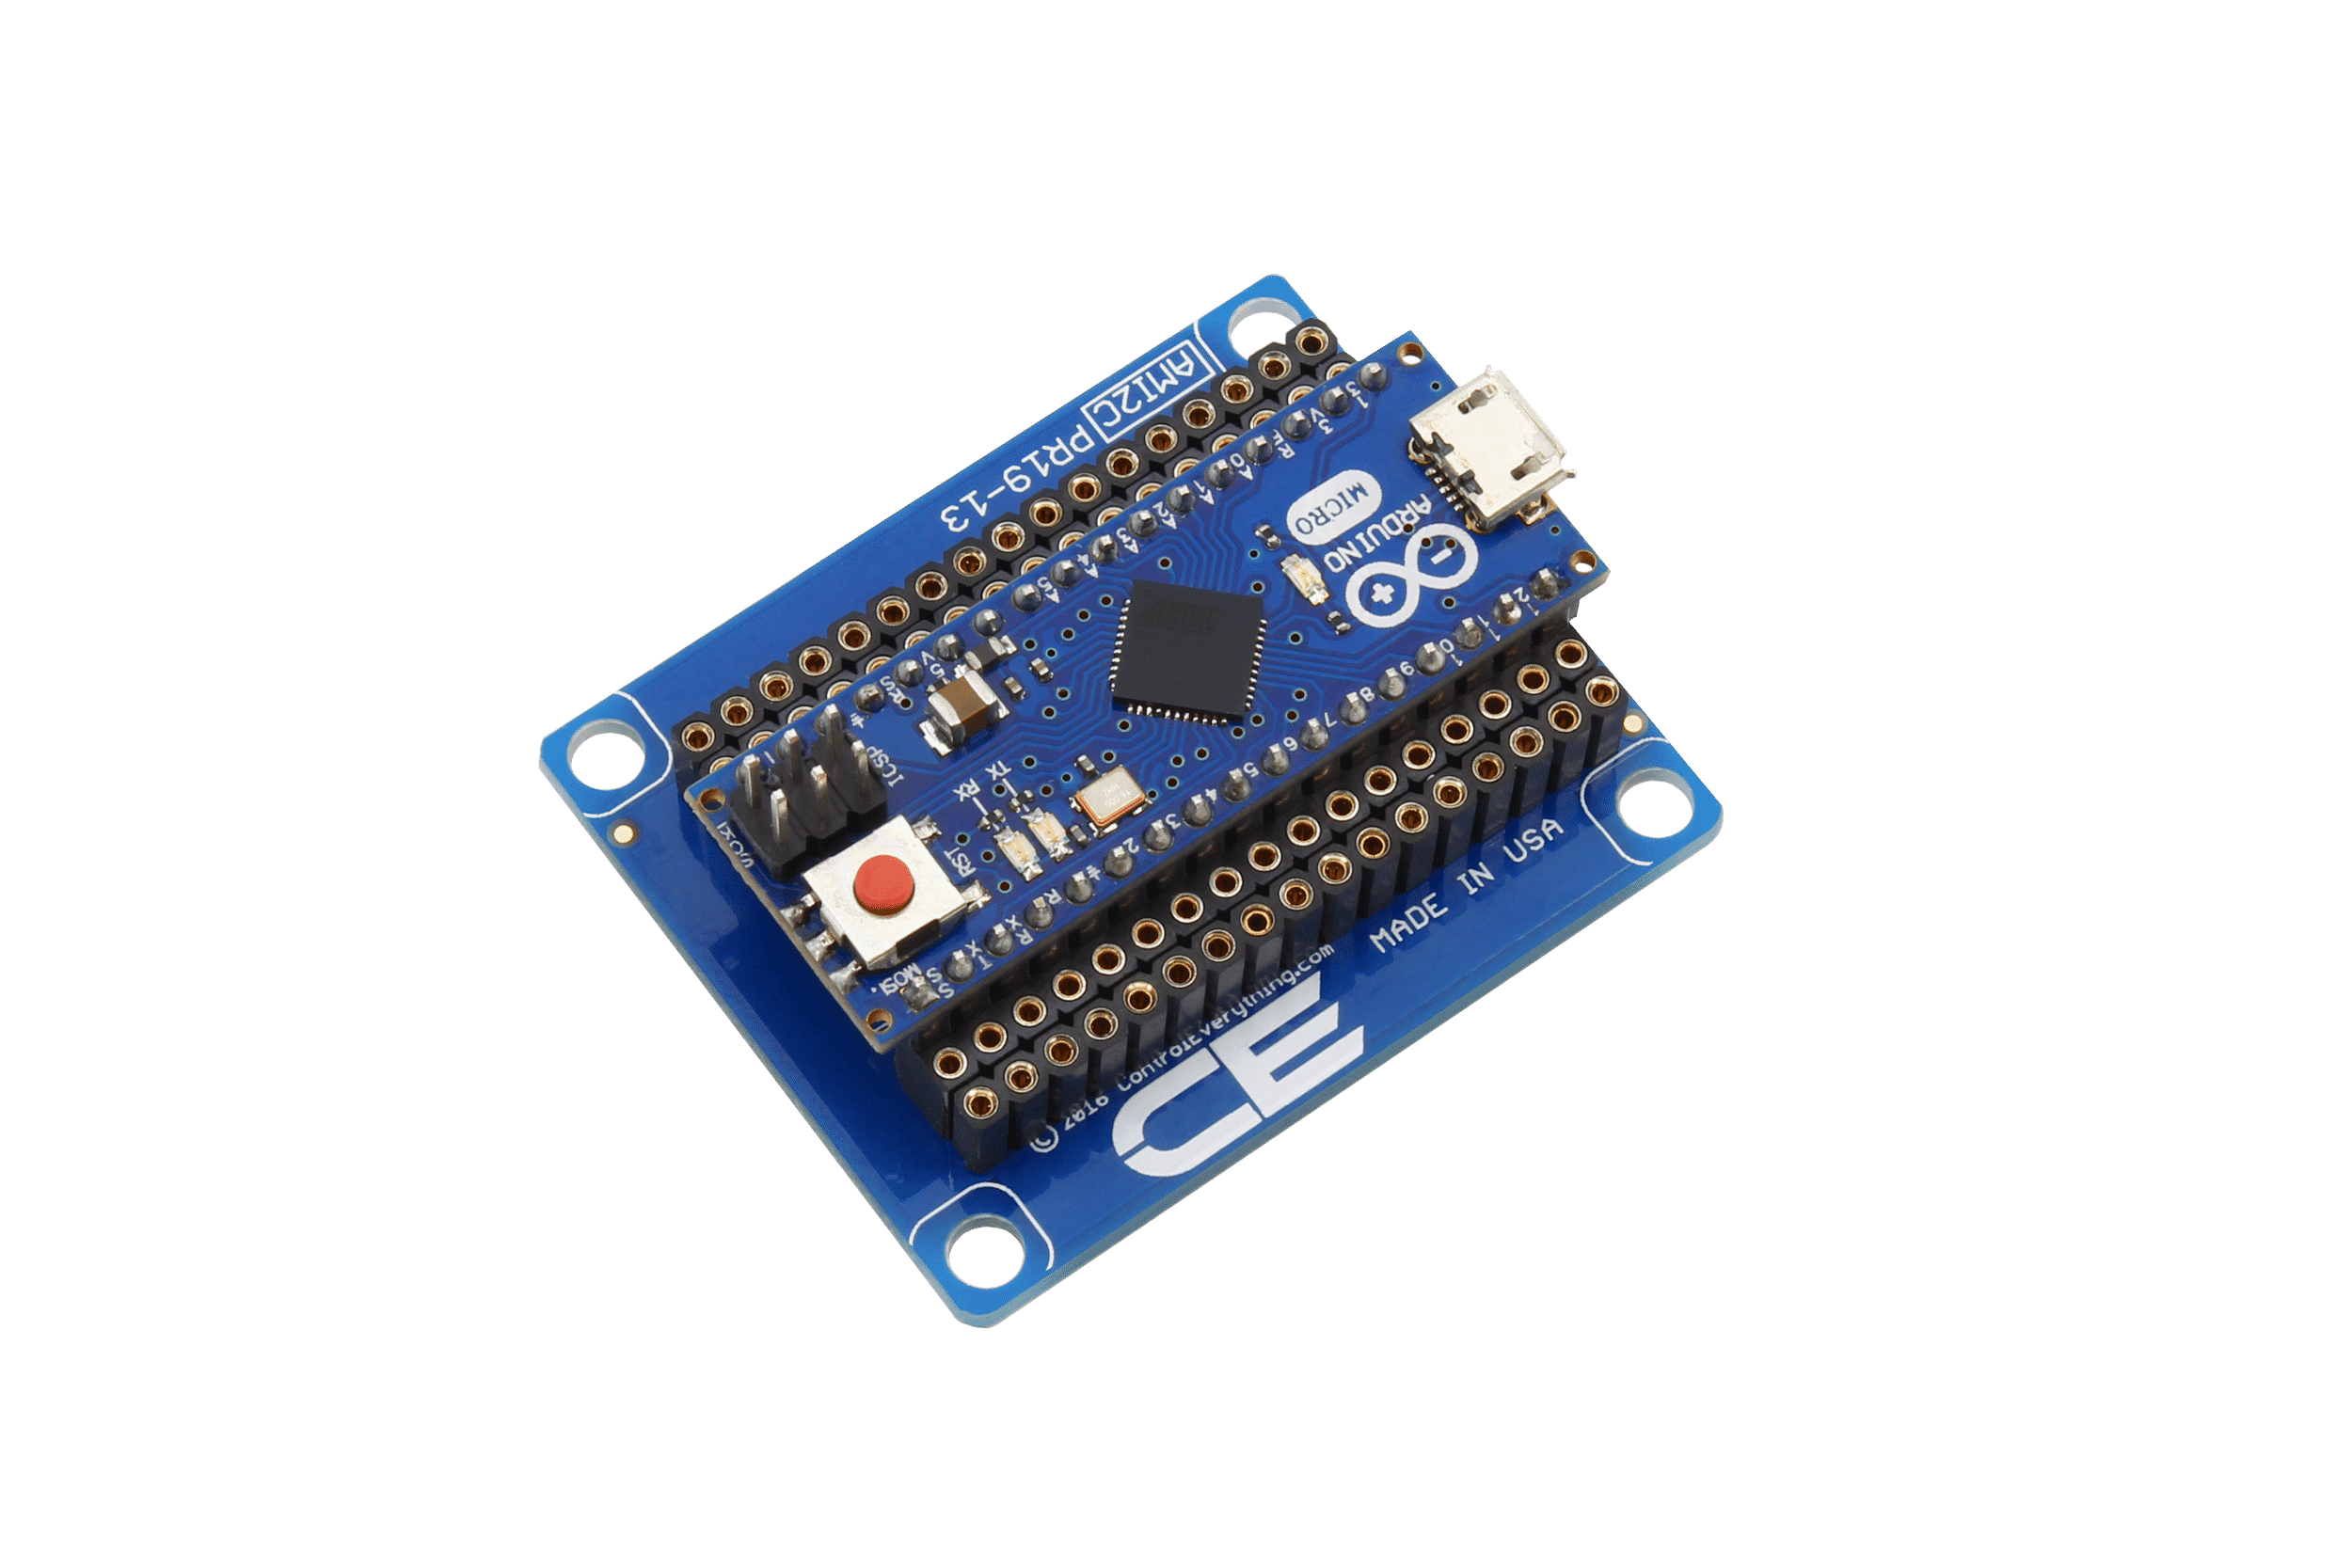
I2C Shield for Arduino Micro with I2C Expansion Port
This I2C Shield comes with 3 row header pins, so you can plug your Arduino micro in it and still can access all the pins using extra row pin headers. These row pin headers can be used to add Arduino overlay shields like Key Fob and wireless communications modules. This I2C shield has on board pull ups and an I2C out port.
Using this I2C shield you can connect any NCD I2C device with it just by using an I2C cable. So for example you want to connect a water detect sensor with it then all you will need a water detect sensor from NCD and connect with this and plug your Arduino micro in it and you are done with the hardware setup.
Using this shield you can use hundreds NCD devices with Arduino micro in seconds.
2. Using Arduino Micro I2C adapter

Arduino Micro IoT Interface Adapter
This I2C adapter can be used to convert all NCD Particle electron board into Arduino micro compatible boards.This board has extra row pin headers, which you can use to plug CE overlay shields. This adapter board is so easy to use all you need to do is plug this adapter in any NCD particle electron board and plug your Arduino micro board in it and you will have a working Arduino micro board. For an example let’s say you want to build an Arduino micro powered high power relay controller then you can use this adapter board with a particle electron relay board.

Testing CE devices with Arduino Micro
Let’s say you have an Arduino micro I2C shield and a hall effect sensor. Now you want to interface the hall effect sensor with Arduino micro. These are the things you will need to perform this task.
- Arduino Micro I2C Shield
I2C Shield for Arduino Micro with I2C Expansion Port
2. Hall Effect Sensor
A1332 Precision Hall Effect Rotational Angle 0° to 360° Sensor I2C Mini ModuleThis hall effect sensor comes with two I2C ports, one is I2C out and one is I2C in. So you can use I2C in port to the connect your Arduino micro with it and you can chain any other sensor with it by simply connecting through I2C out port.
Once you have all the hardware connected, you will see a glowing power led on the hall effect sensor.
Now we have our hardware working, we can move on software.
This hall effect sensor supports I2C communication and all I2C devices comes with an I2C address. Most of these I2C device supports general call and when we run the general call it will respond with an address. So to test if sensor is responding or not, we can run this I2C scan code.
#include <Wire.h>
void setup()
{
  Wire.begin();

  Serial.begin(9600);

}
void loop()
{
  byte error, address;
  int nDevices;

  Serial.println("Scanning...");

  nDevices = 0;
  for(address = 1; address < 127; address++ )
  {
    // The i2c_scanner uses the return value of
    // the Write.endTransmisstion to see if
    // a device did acknowledge to the address.
    Wire.beginTransmission(address);
    error = Wire.endTransmission();

    if (error == 0)
    {
      Serial.print("I2C device found at address 0x");
      if (address<16)
        Serial.print("0");
      Serial.print(address,HEX);
      Serial.println("  !");

      nDevices++;
    }
    else if (error==4)
    {
      Serial.print("Unknow error at address 0x");
      if (address<16)
        Serial.print("0");
      Serial.println(address,HEX);
    }
  }
  if (nDevices == 0)
    Serial.println("No I2C devices foundn");
  else
    Serial.println("donen");

  delay(10000);
}
After uploading the code open the serial monitor and you will see it will show an I2C address over there. This is a very basic test to check if all our connection are correct and the I2C device is working. Now we have done the basic testing and we made sure everything is working, now we can start writing the code to read this sensor values.
All CE devices works on same principle they use I2C communication, so using these devices is so easy, they all work in same way so if you learn how to use one you can most of them.
If you are looking for lib you can find them over here.
http://github.com/ControlEverythingCommunity
Interfacing Arduino Micro With Sensors

NCD supports hundreds sensor and all of them work directly with the arduino micro. If you want to interface any kind of sensors with Arduino micro all you need to do is plug your Arduino in the the Arduino Micro I2C shield and connect the sensor with it using I2C cable and you are good to go.
Interfacing RFID with arduino micro
If you are looking into integrating all you need to do is plug your arduino micro into the CE arduino micro RFID uart shield and connect with the cable and you are good to go.

Connecting GPS with your Arduino

If you want to interface GPS module with your Arduino and track real time geo location all you need to do is plug your Arduino into CE GPS shield and you will have a GEO location tracker within seconds without doing any too complex wiring or soldering.